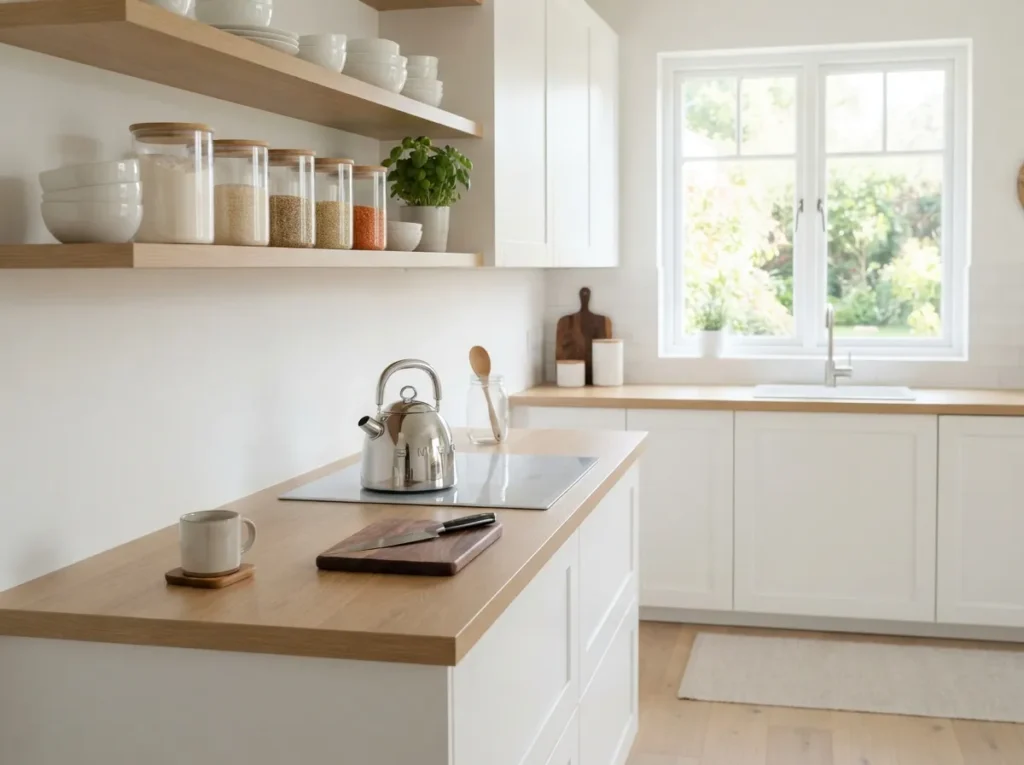
Transform your kitchen into a serene, functional space with this beginner-friendly minimalist decluttering plan. Over a single weekend, you can conquer clutter, streamline essentials, and create a calm culinary environment without overwhelming effort. Embrace simplicity and enjoy a more organized home.
1. Define Your Minimalist Vision
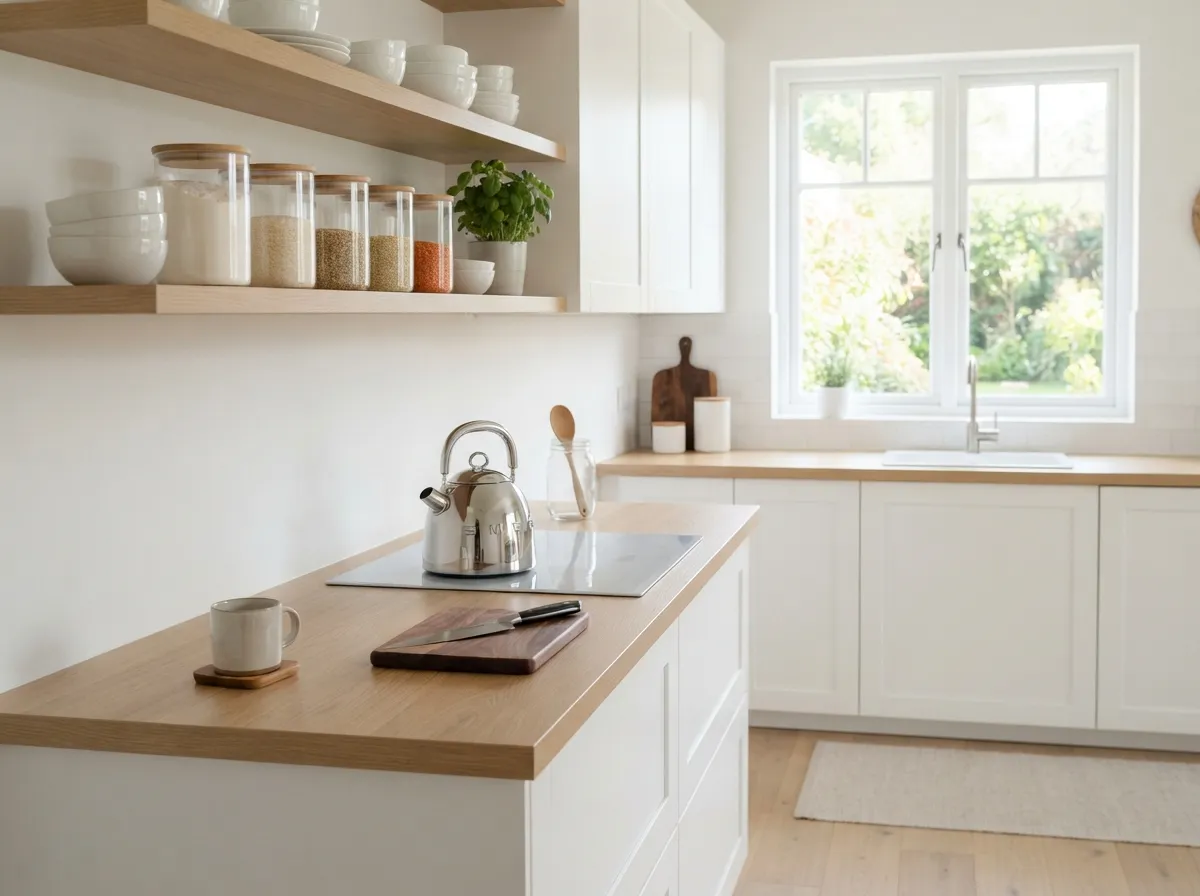
Begin your decluttering journey by first defining what a minimalist kitchen truly means to you. Envision a space that feels calm, functional, and organized, tailored to your daily cooking needs.
Consider how a less cluttered environment can enhance your cooking experience and overall well-being. This clear vision will serve as your guiding principle throughout the entire decluttering process.
Having a precise goal helps you make thoughtful decisions about what stays and what goes. It ensures every item in your kitchen serves a purpose or brings you joy, aligning with your desired aesthetic.
2. Clear Your Countertops First
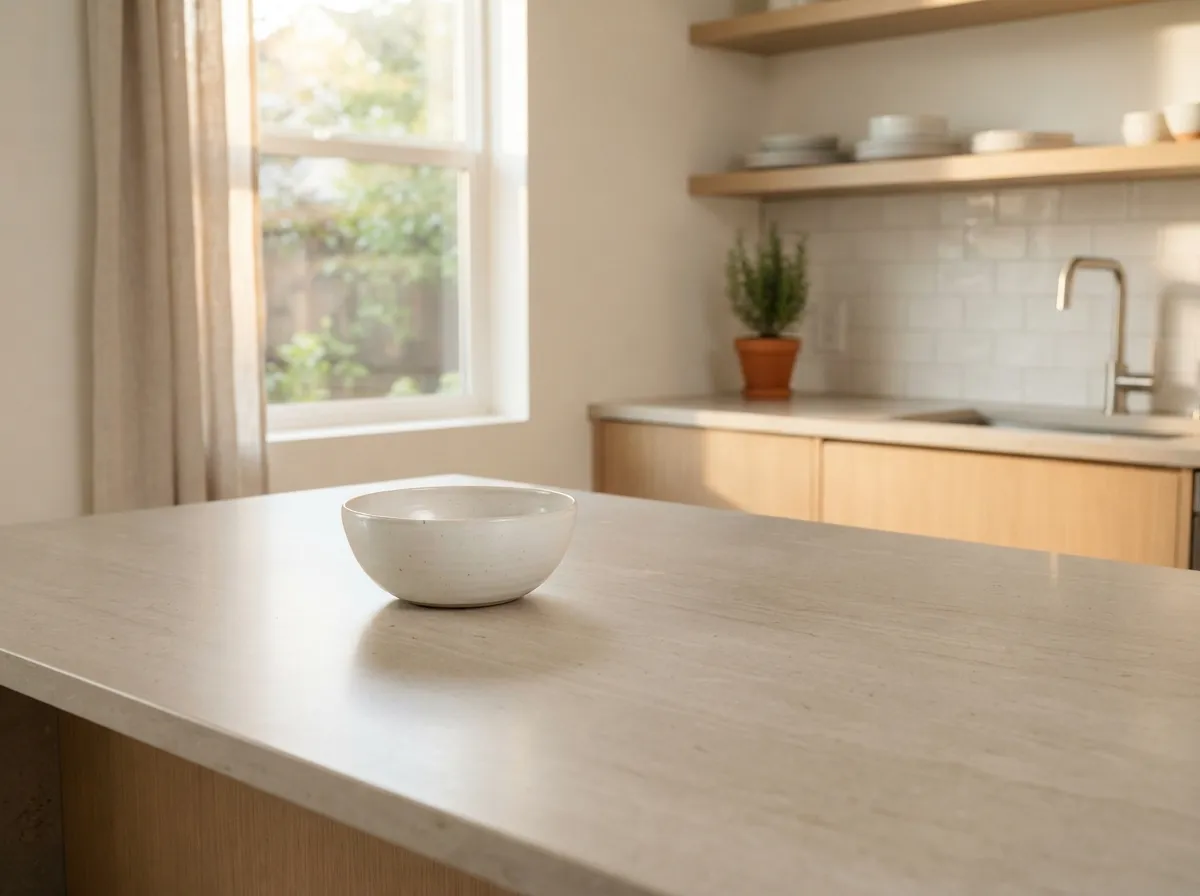
The quickest way to feel progress is by clearing your countertops. Start by removing everything from these primary surfaces.
This immediate action creates a visual impact and provides space for sorting. Temporarily relocate items to a table or a large bin in an adjacent room.
This step is crucial for gaining perspective on the true amount of items you keep out. A clear counter instantly makes your kitchen feel larger and more inviting, setting a positive tone for further decluttering.
3. Empty Drawers One by One
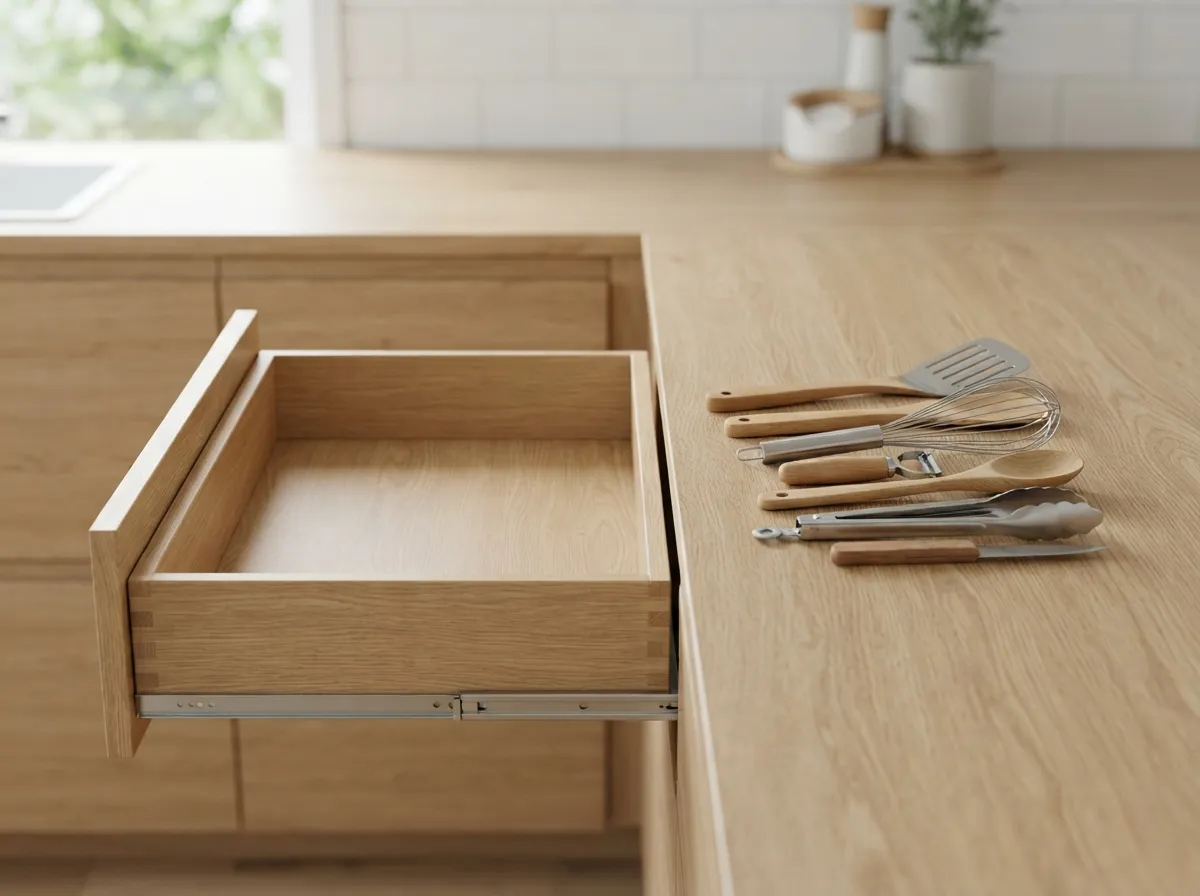
Approach your kitchen drawers systematically, focusing on one at a time to avoid feeling overwhelmed. Pull out all contents from a single drawer and place them on a clean surface.
This allows you to see everything you possess in that specific space. Dust out the drawer thoroughly before you begin sorting.
This methodical approach ensures no forgotten items remain hidden. It also gives you a clear canvas to reorganize only what you truly need and use regularly.
4. Sort Through Utensils and Gadgets
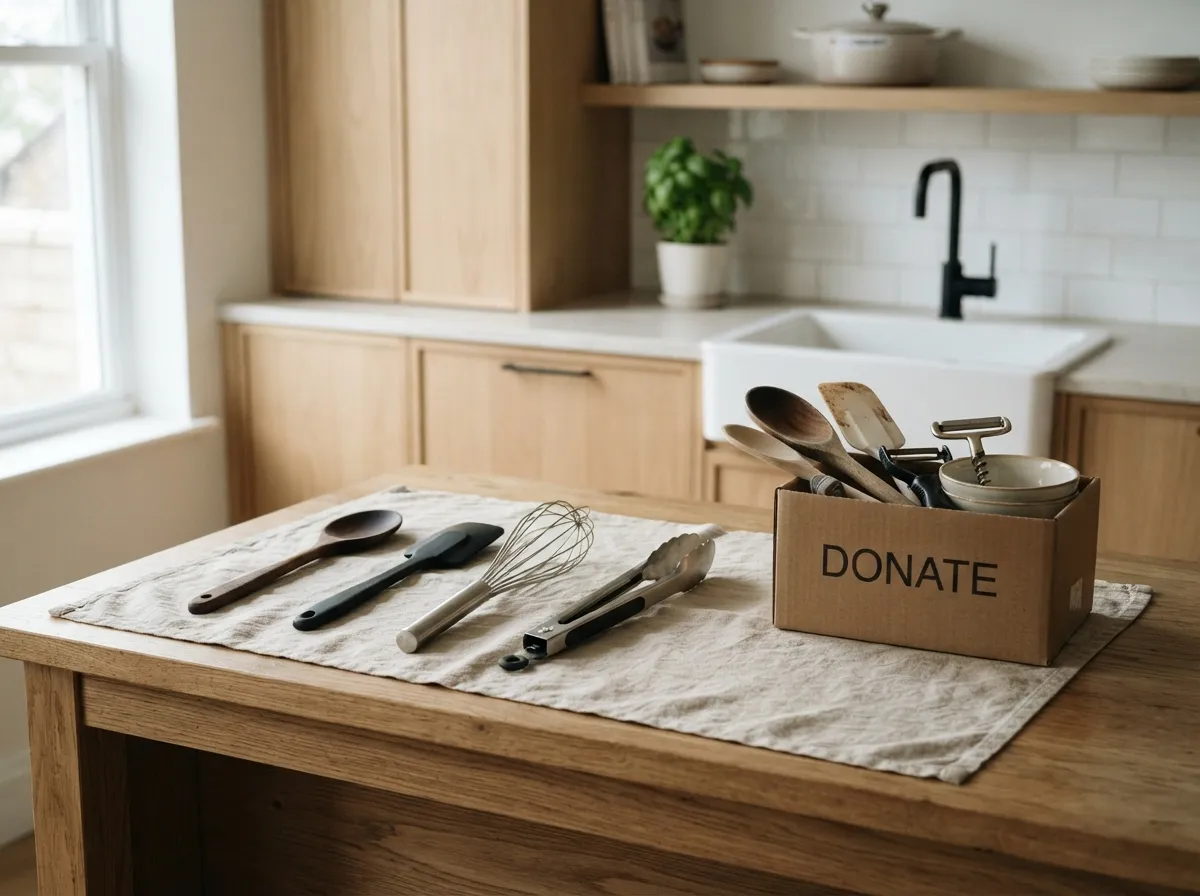
Now is the time to critically evaluate your collection of utensils and kitchen gadgets. Pick up each item and ask yourself when you last used it and how often.
Keep only the tools that are truly functional and frequently used in your daily cooking. Donate or discard duplicates and single-purpose gadgets that rarely see the light of day.
Organizing these items into practical categories will make cooking much more efficient and enjoyable for you. This step helps streamline your workflow.
5. Evaluate Cookware and Bakeware
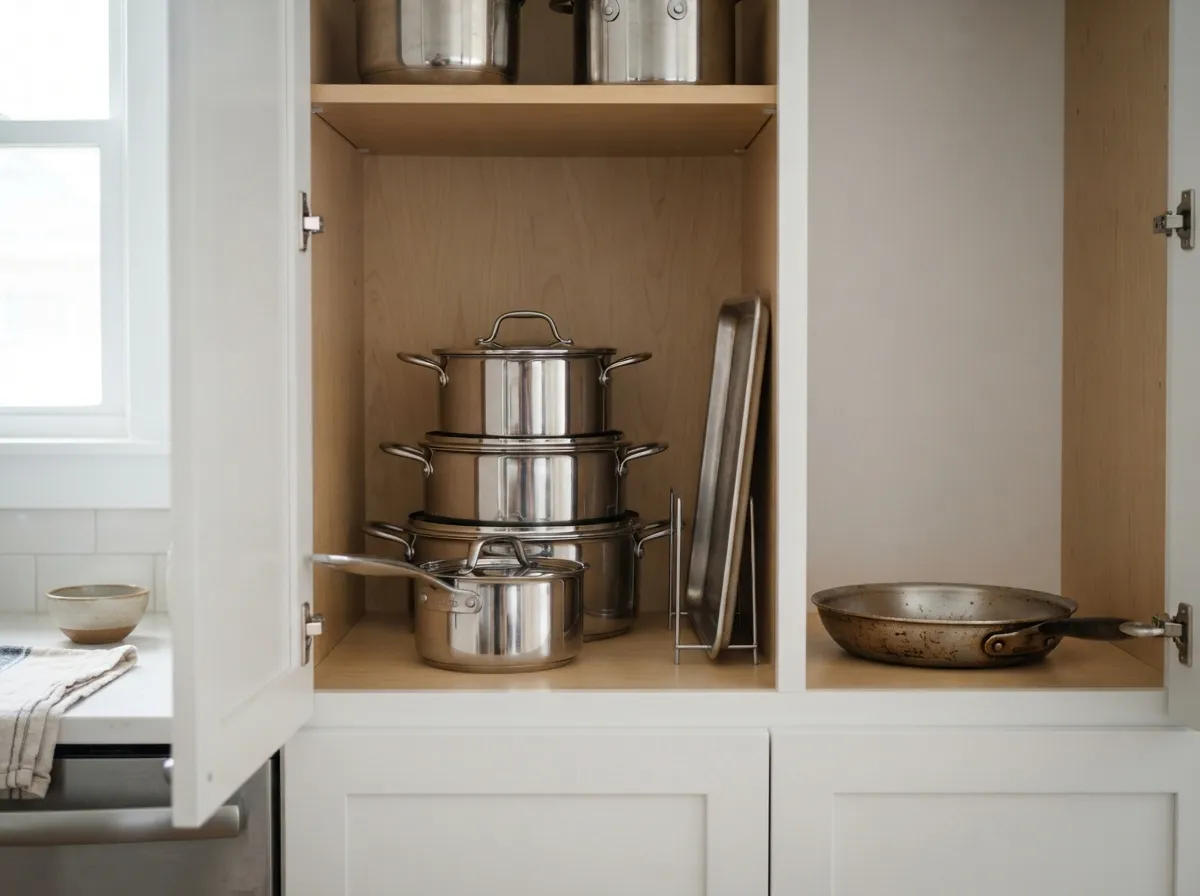
Move on to assessing your pots, pans, and bakeware collection. Examine each piece for its condition, checking for excessive wear, scratches, or damage.
Keep only the items that are in good shape and serve your current cooking and baking habits. Consider donating seldom-used or duplicate pieces to make space.
A well-curated set of functional cookware simplifies meal preparation and storage. This ensures that every pot and pan has a clear purpose in your streamlined kitchen.
6. Tackle Pantry Items and Staples
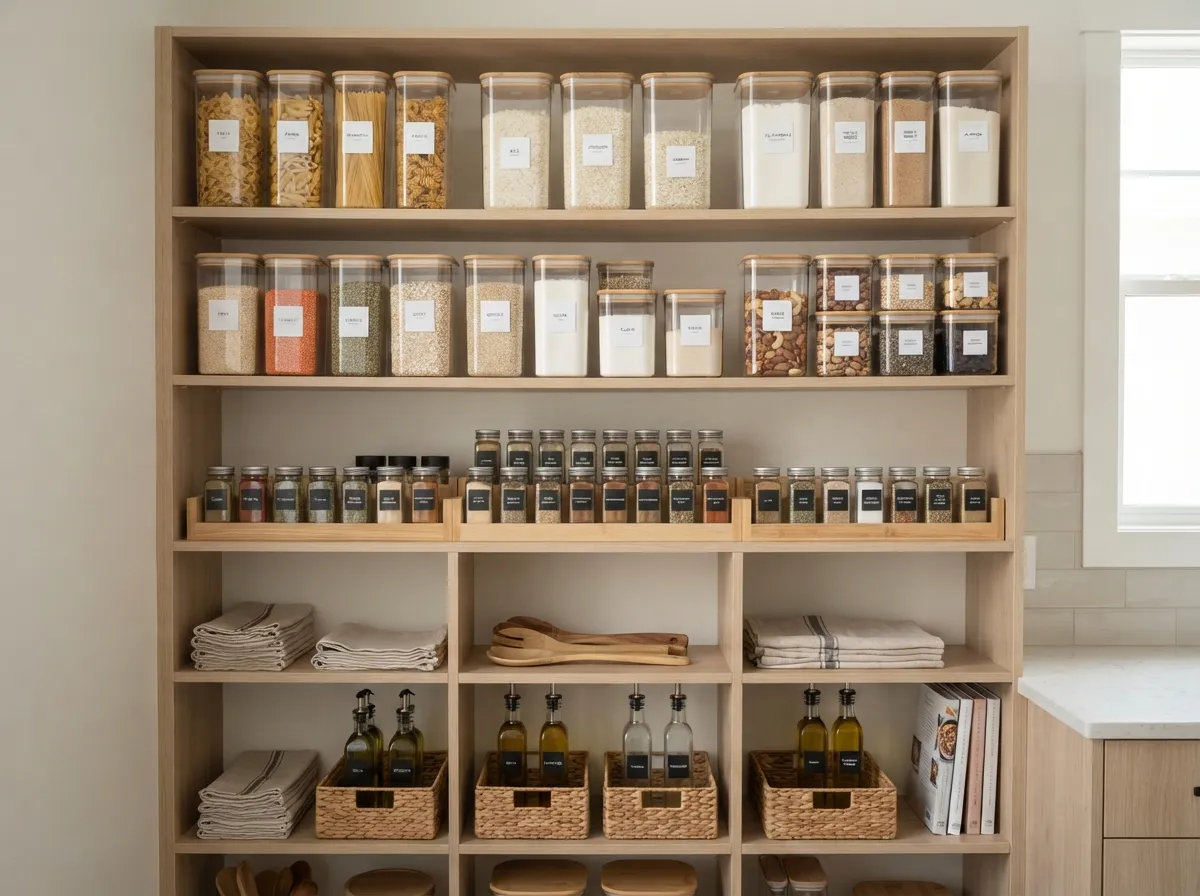
Begin your decluttering journey by addressing your pantry. This area often accumulates items that are rarely used or simply forgotten.
Pull everything out so you can see exactly what you have. Categorize items as you go: baking supplies, canned goods, grains, and snacks.
This initial sorting makes the next steps much easier. Look for duplicates or items that you no longer use in your cooking routine.
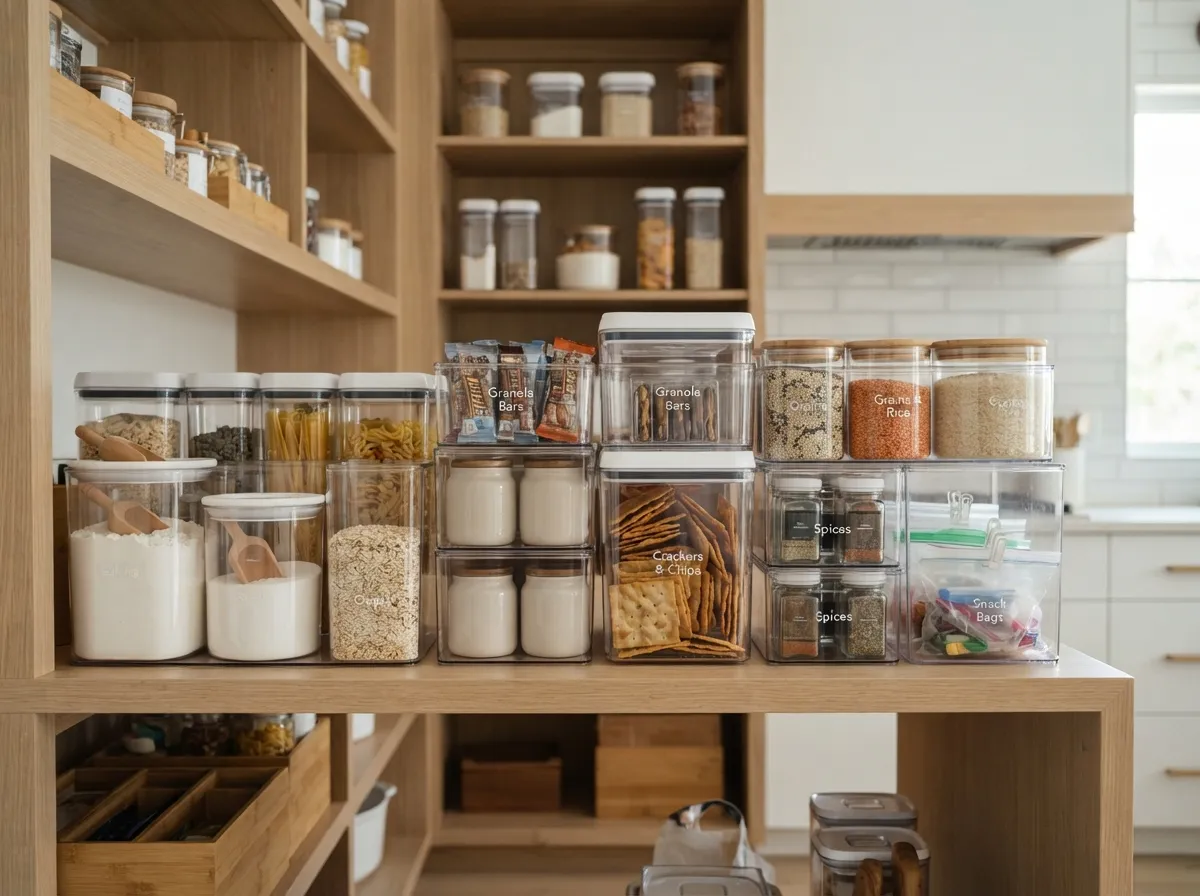
Consider transferring bulk staples into clear, airtight containers. This not only keeps food fresher but also creates a uniform, visually pleasing aesthetic.
An organized pantry saves time and reduces stress during meal prep.
7. Discard Expired Food Ruthlessly
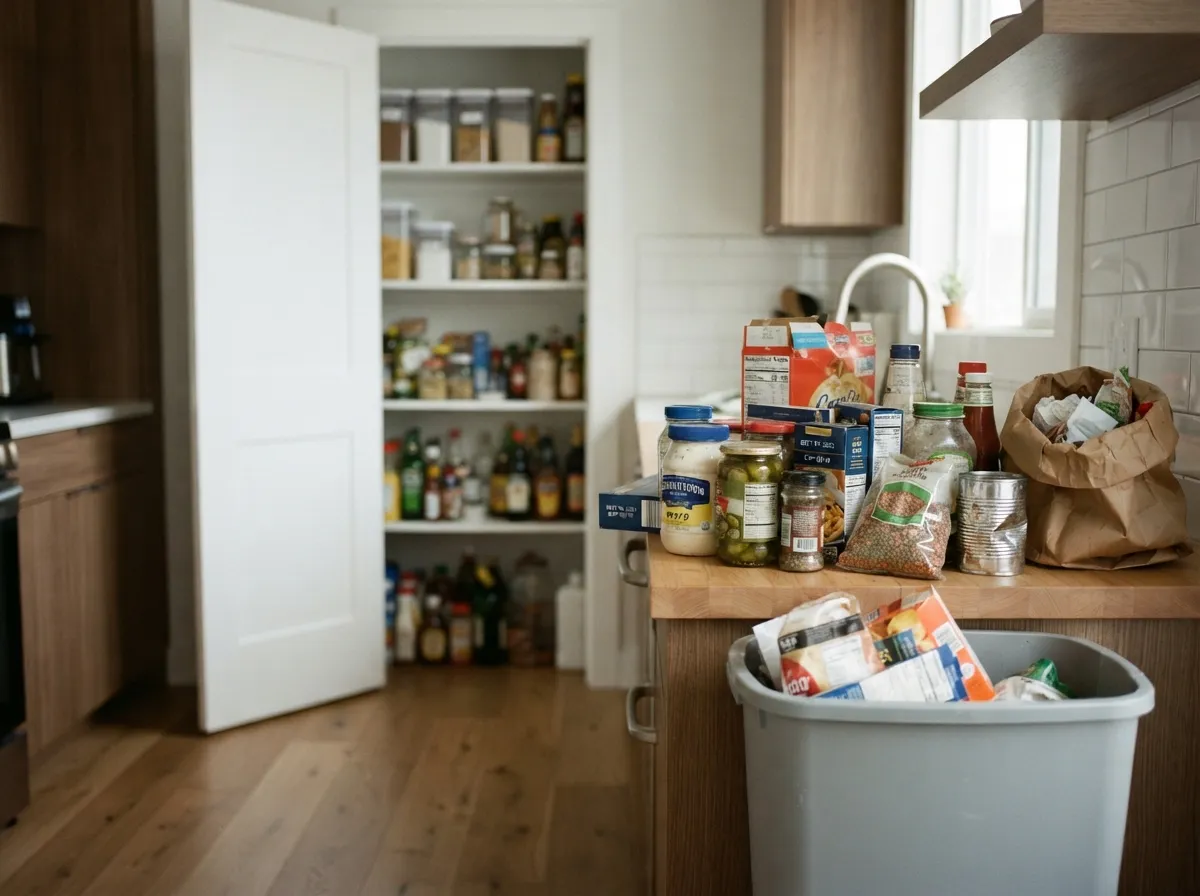
Now comes the crucial step of discarding anything past its prime. Go through every single item, checking expiration dates on packaged goods, condiments, and spices.
Be honest about what you will actually consume. It is easy to hold onto items “just in case,” but expired food takes up valuable space and can even be a health hazard.
If something is well past its date, it needs to go without hesitation. This process frees up significant storage.
Also, check for opened items that have been in the fridge or pantry too long. Sauces, jams, or dried herbs can lose their flavor and quality over time.
A thorough clean-out ensures everything remaining is fresh and safe.
8. Streamline Your Dinnerware Collection
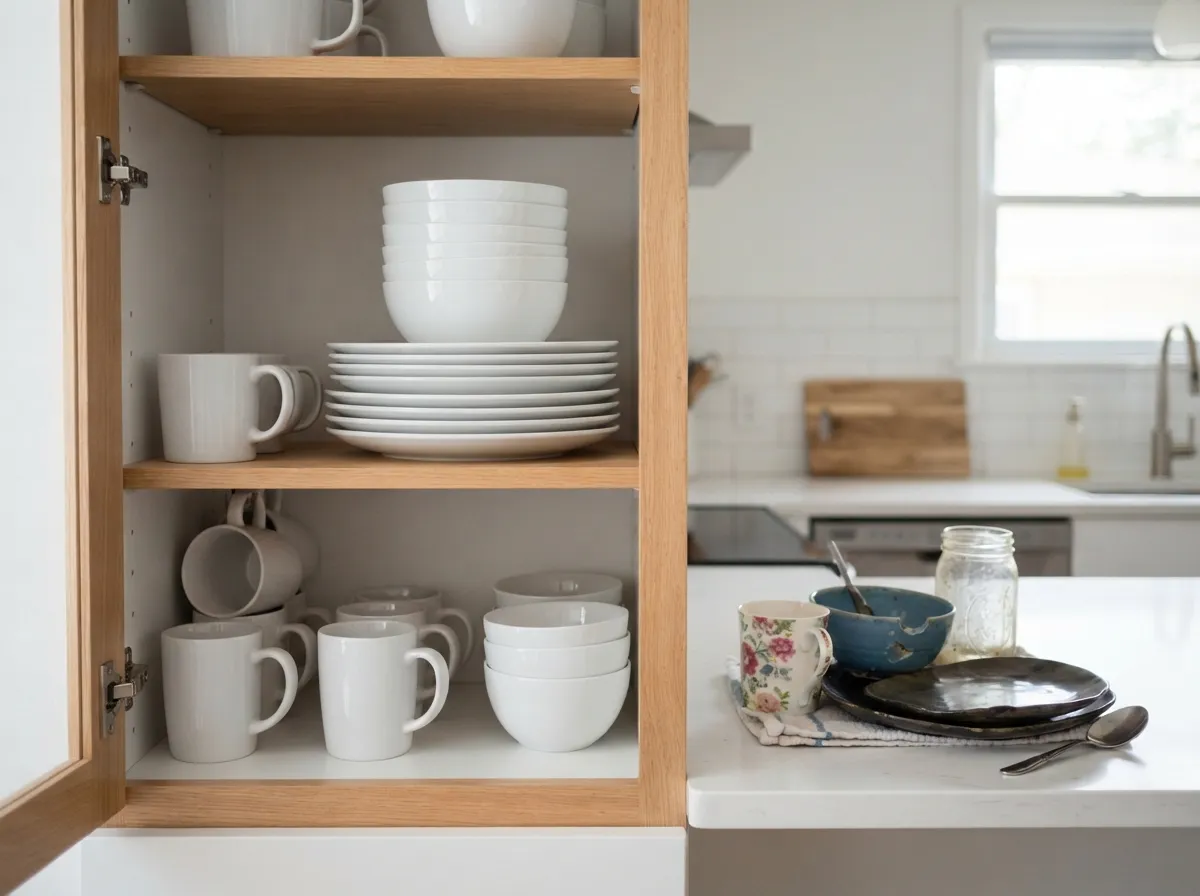
Take a critical look at your dinnerware. Many households accumulate an excessive number of plates, bowls, and mugs, often a mix of mismatched sets or chipped pieces.
A minimalist approach values quality over quantity. Count how many place settings you truly need for your household and occasional guests.
Consider keeping one coherent set that brings you joy and serves your daily needs. This creates visual harmony in your cabinets.
Gently release any chipped, cracked, or unused items. Those sentimental pieces that don’t fit your aesthetic can be stored elsewhere or repurposed.
Decluttering dinnerware instantly makes cabinets feel more spacious and orderly.
9. Organize Under-Sink Storage
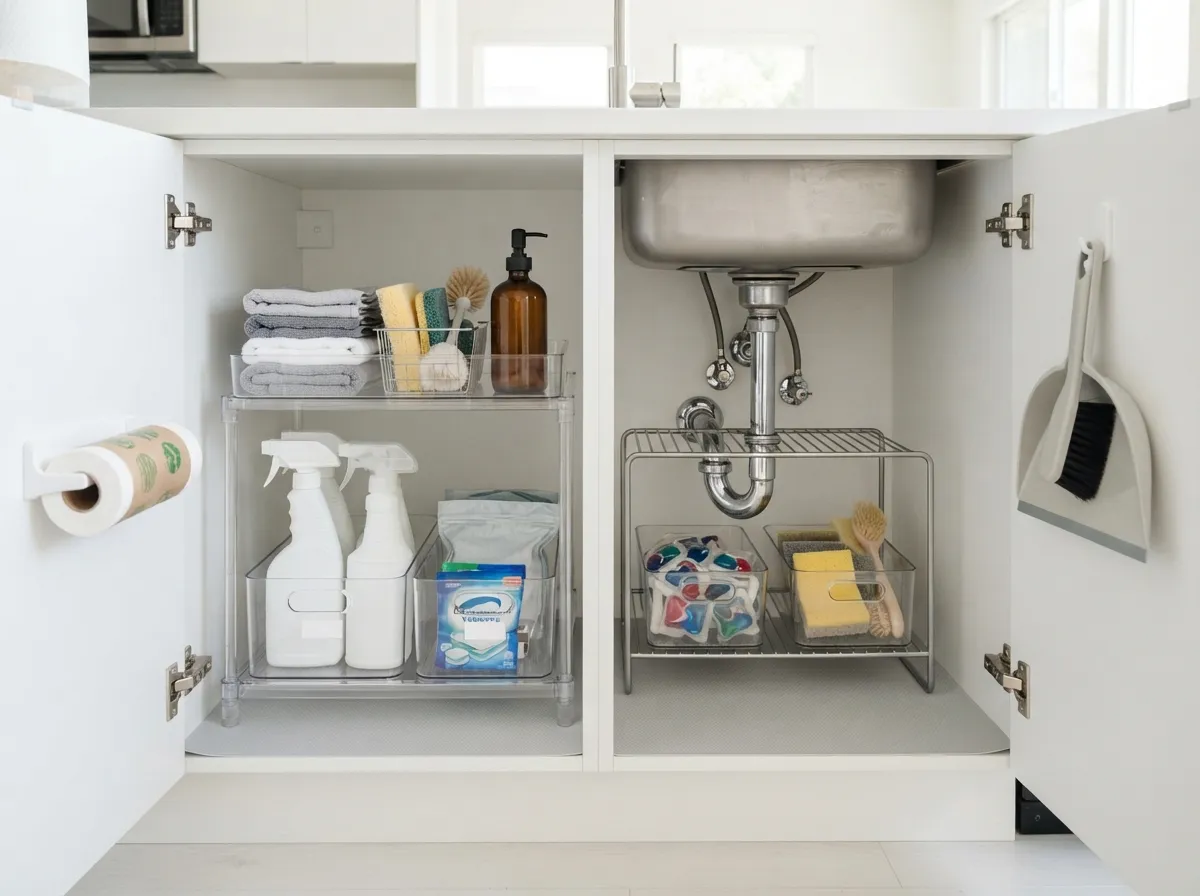
The under-sink cabinet is notorious for becoming a chaotic catch-all. Begin by removing everything from this often-neglected space.
You might be surprised by the number of half-empty bottles or forgotten cleaning products. Sort through your cleaning supplies, sponges, and dish soap.
Consolidate nearly empty bottles or discard those you no longer use. Keep only the essential items that you reach for regularly.
Invest in simple organizational solutions like stackable bins, small shelves, or a caddy. These tools help maximize vertical space and prevent items from getting lost in the back.
A tidy under-sink area makes chores more efficient.
10. Assess Small Appliances for Necessity
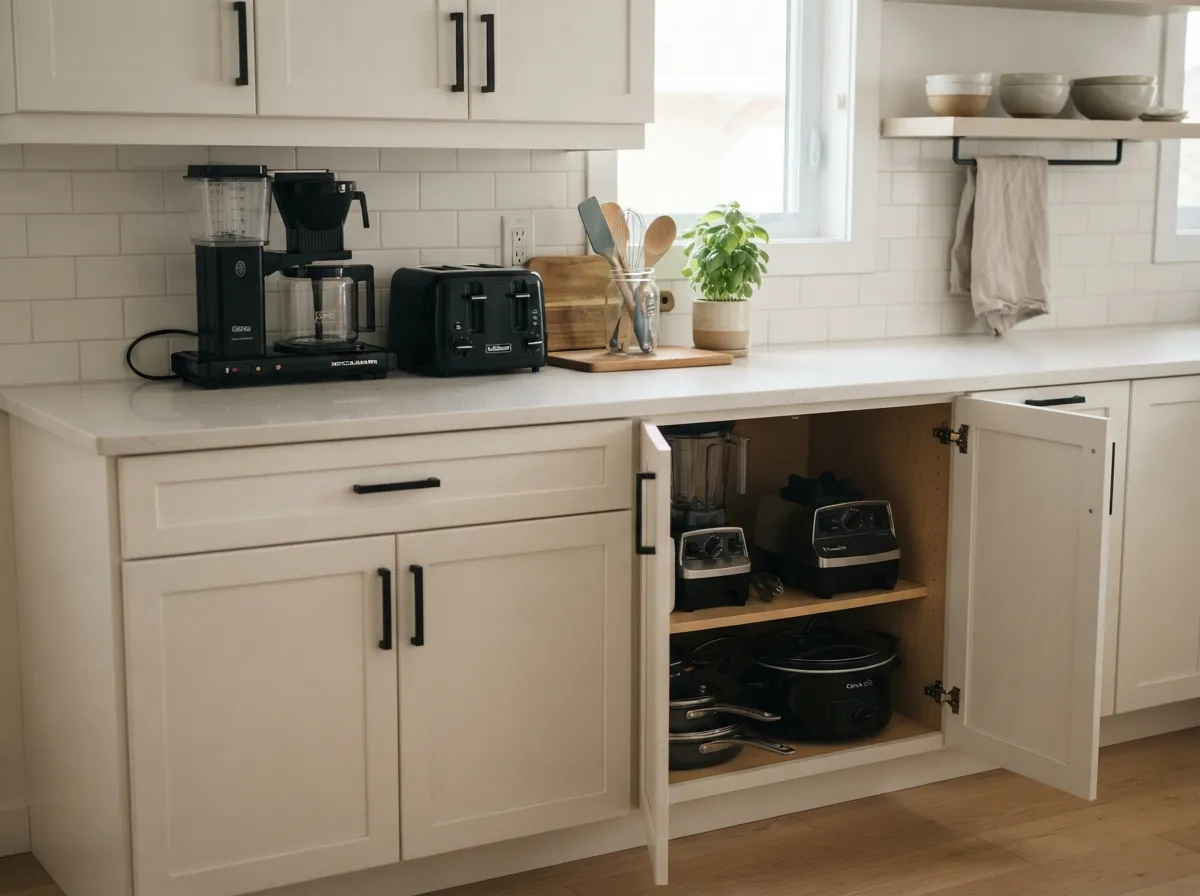
Small appliances can quickly overwhelm kitchen counter space and cabinets. Take stock of every appliance, from the blender to the toaster.
Ask yourself when you last used each item. If an appliance hasn’t seen use in months, or even years, it might be time to let it go.
Consider borrowing or renting specialty items you use only once a year, instead of owning them. This reduces clutter significantly.
For those appliances you do keep, ensure they have a designated, accessible spot. Store less frequently used items in a cabinet, while daily essentials can remain on the counter if they fit your aesthetic.
Prioritize functionality and space.
11. Create a Donate or Discard Pile
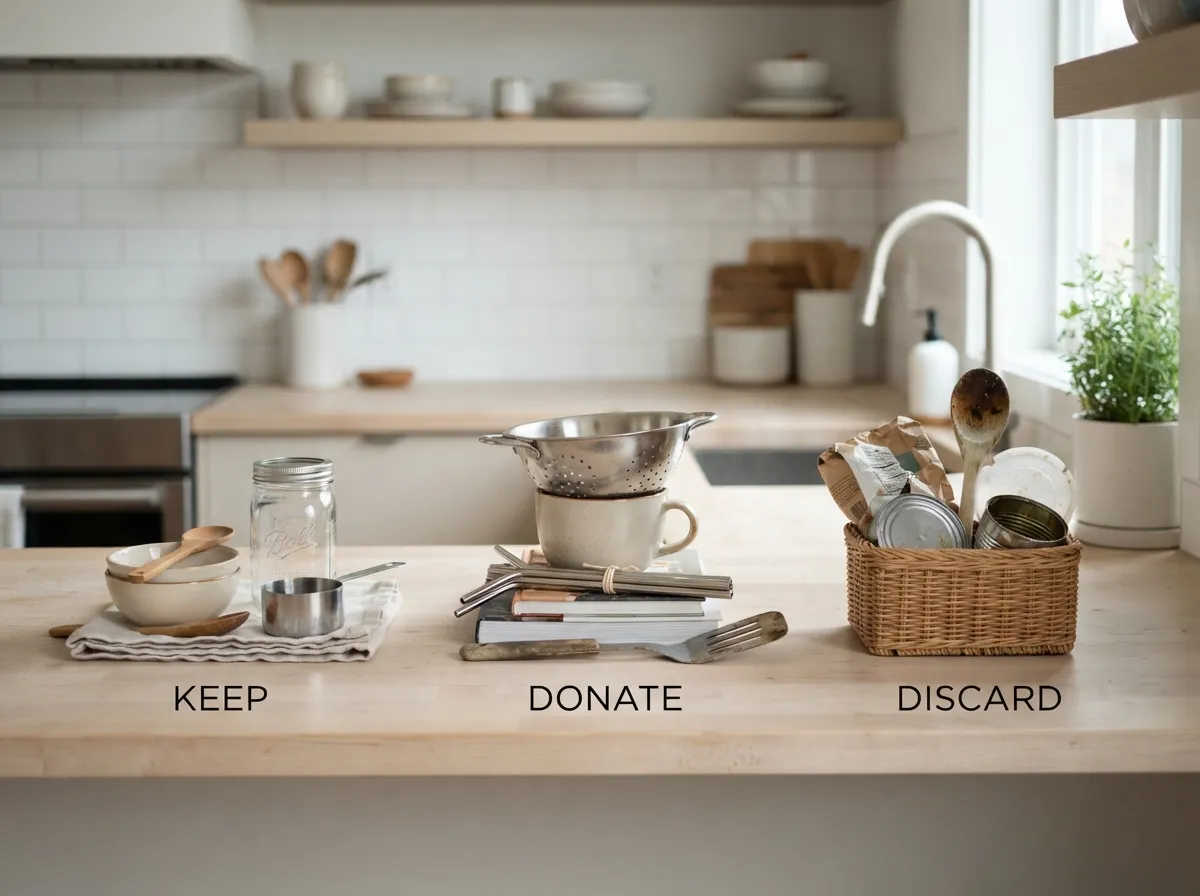
As you go through each drawer and cabinet, establish a clear system for items you no longer need. Designate specific areas for things to be donated or items that are truly ready for the trash.
This immediate sorting prevents clutter from simply shifting around your kitchen.
Be decisive with each item you encounter. If it is broken, expired, or has not been used in a year, it likely belongs in the discard pile.
For gently used items that still have life, the donate pile is their next destination.
This simple act of categorizing streamlines the decluttering process. It ensures that only necessary and frequently used items remain in your kitchen, fostering a more functional environment.
12. Consolidate Cleaning Supplies
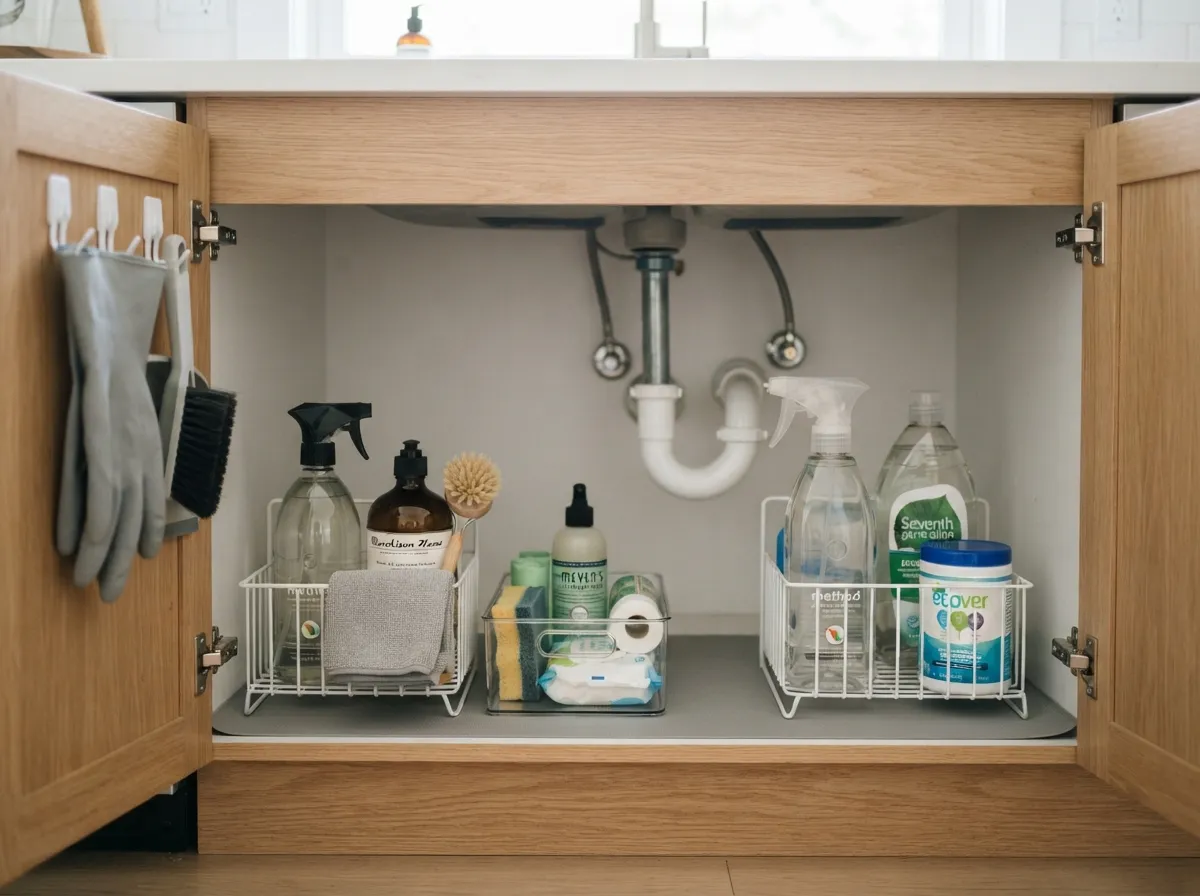
Cleaning supplies often end up scattered across various spots, from under the sink to a laundry room shelf. Begin by gathering every cleaning product you own into one central location.
This allows for a comprehensive overview of your inventory.
Identify any duplicates or products that are nearly empty or expired. Dispose of expired items properly and consider combining similar products if they are compatible.
The goal is to have one organized collection.
Designate a specific cupboard or caddy for all your consolidated cleaning essentials. This practice ensures easy access and helps maintain order, making future cleaning tasks much more efficient.
13. Reorganize Your Spice Collection
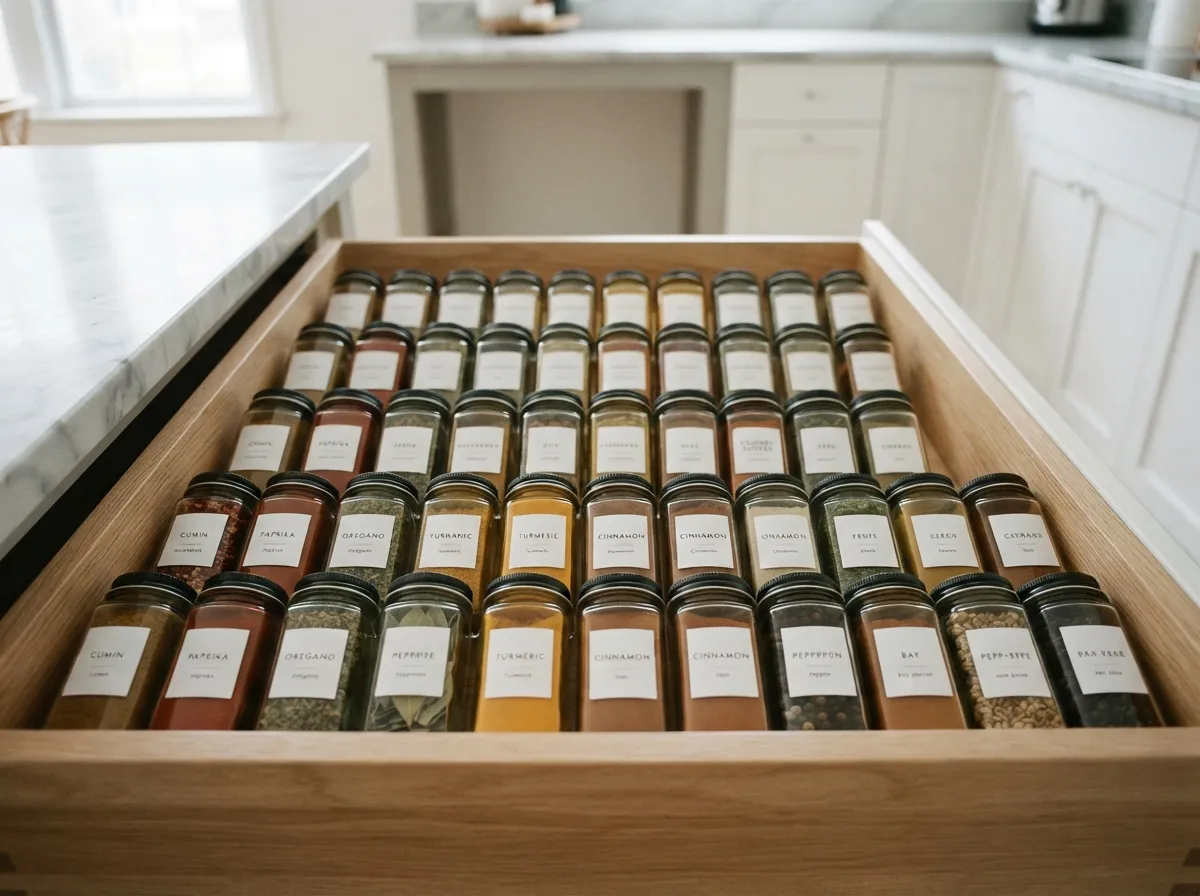
A disorganized spice collection can hinder your cooking process and waste valuable cabinet space. Start by pulling out all your spices and checking their expiration dates.
Discard any that are old or have lost their potency.
Next, consider how you use your spices. Group frequently used ones together for easy reach.
Uniform containers can significantly improve the visual appeal and organization of your spice collection.
Whether in a drawer, on a rack, or in a cabinet, arrange them alphabetically or by cuisine type. This simple system ensures you can quickly find what you need, making your kitchen more efficient and enjoyable.
14. Use Bins and Organizers Effectively
Bins and organizers are fundamental tools for maintaining a minimalist kitchen. They help contain clutter and define specific homes for various items.
Start by identifying areas that tend to become messy, such as pantry shelves or deep drawers.
Select organizers that fit the dimensions of your cabinets and drawers precisely. Use them to group similar items together, like baking supplies, snacks, or small gadgets.
This prevents items from getting lost or becoming disarrayed.
Clear bins are particularly useful as they allow you to see contents at a glance. By utilizing these tools, you create structure and order, making your kitchen more functional and visually appealing.
15. Optimize Vertical Storage Solutions
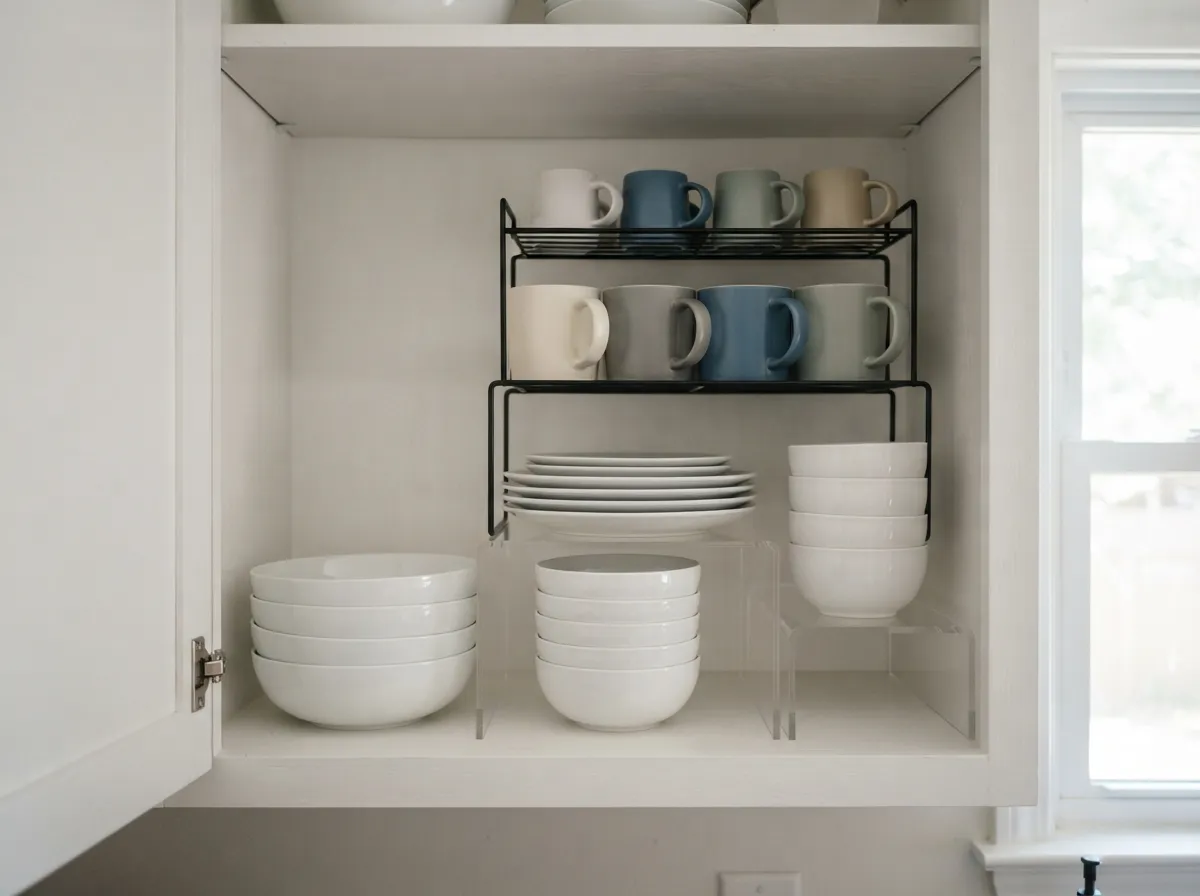
Many kitchens underutilize vertical space, leaving valuable storage potential untapped. Look upwards within your cabinets and pantry.
Adding simple shelf risers or stackable organizers can instantly double your storage capacity.
Tiered organizers are excellent for plates, bowls, or even canned goods, making items at the back easily accessible. Consider wall-mounted solutions for items like pot lids or frequently used utensils, freeing up drawer and counter space.
By thinking vertically, you maximize every inch of your kitchen’s storage. This strategic approach to organization keeps surfaces clear and maintains a spacious, uncluttered feel, essential for a minimalist aesthetic.
16. Curate Your Kitchen Linens
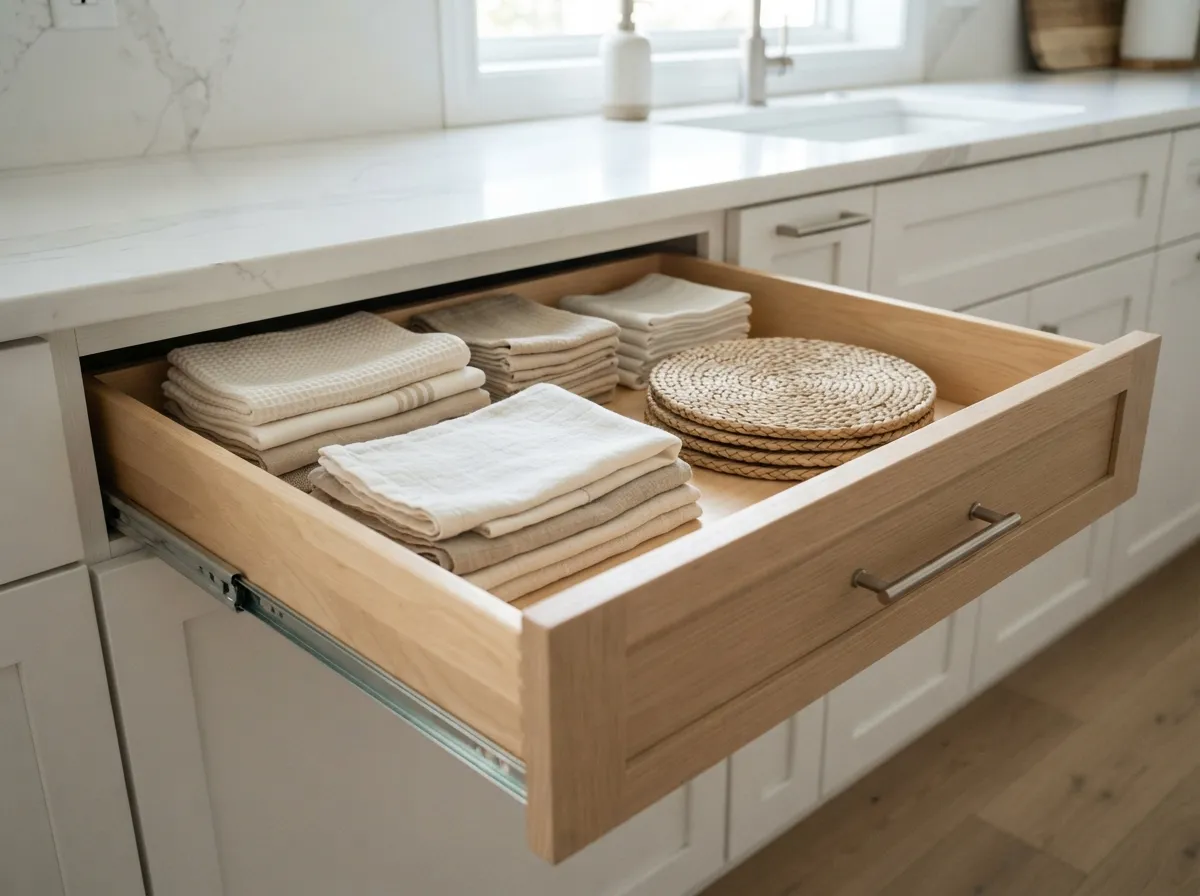
Kitchen linens often accumulate without us noticing. Take this time to sort through all your dish towels, placemats, and tablecloths.
Keep only the items that are in excellent condition and that you regularly use.
Discard any linens with stains, tears, or excessive wear. For those you keep, consider how many you truly need to function comfortably between laundry days.
A minimalist approach means having just enough.
Fold your remaining linens neatly and store them in a designated drawer or cabinet. This brings calm to your storage spaces and ensures you always have a fresh, functional set ready for use.
Embrace the simplicity of fewer, better quality textiles.
17. Simplify Your Food Storage Containers
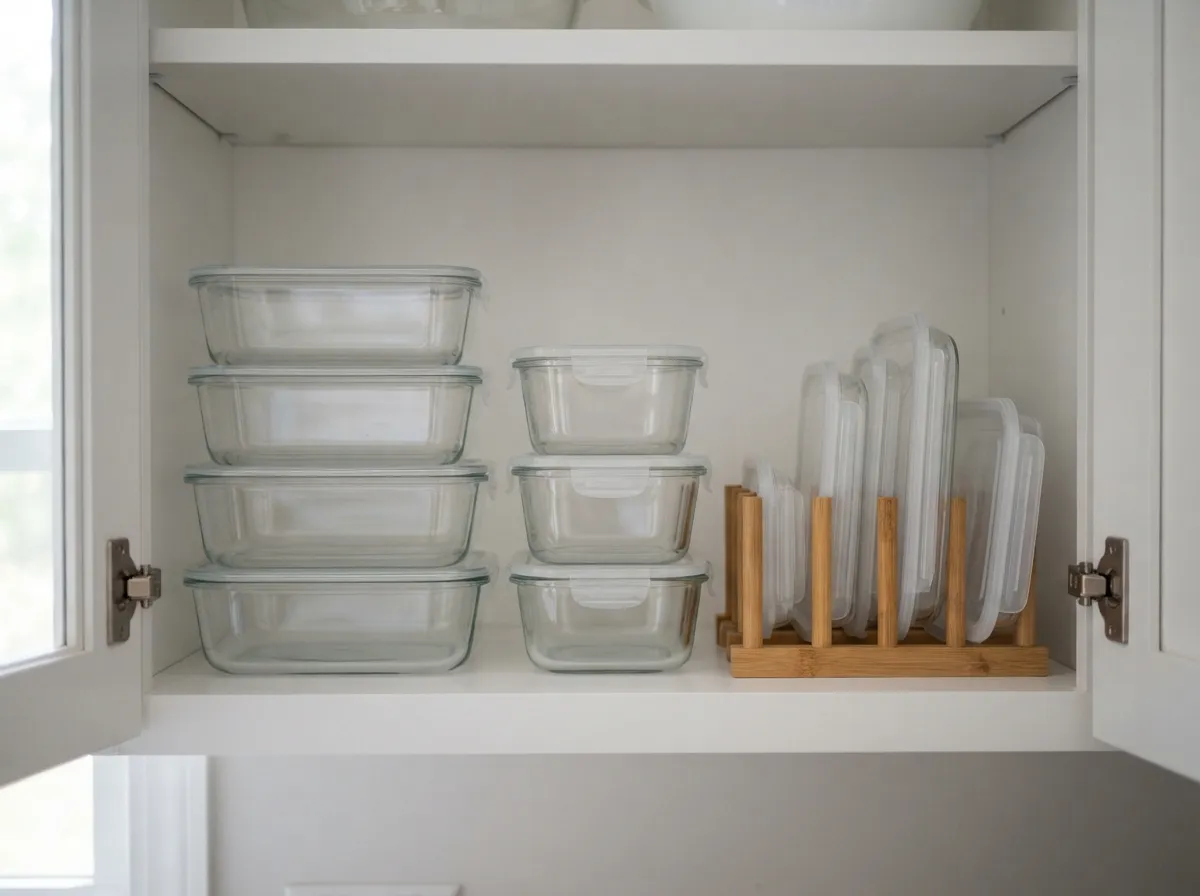
The cabinet dedicated to food storage containers can easily become a chaotic mess. Begin by removing every single container and lid from its current spot.
You will likely find many mismatched pieces.
Pair all containers with their corresponding lids. Any container without a lid, or any lid without a container, should be immediately recycled or discarded.
Focus on keeping complete, functional sets.
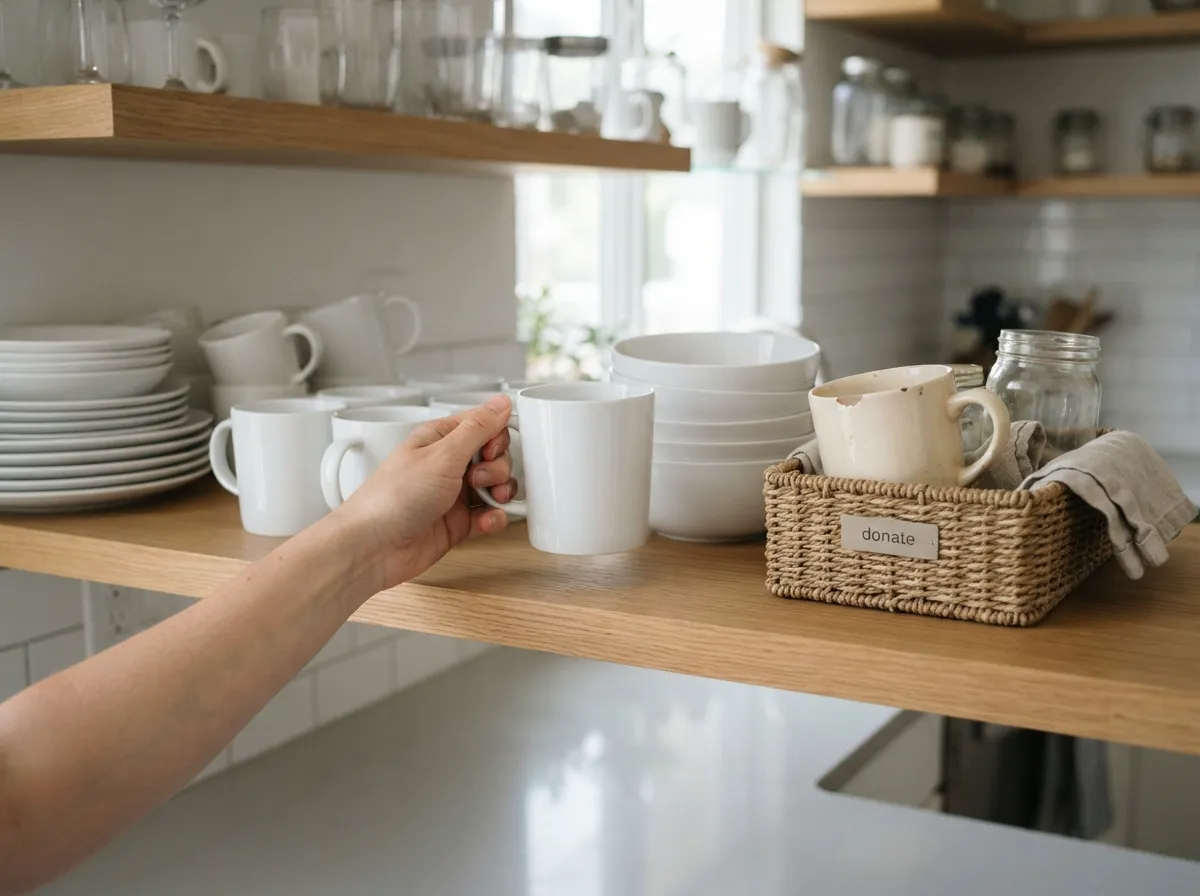
Consider donating any excess containers that are still in good condition but you no longer need. For your remaining collection, opt for a uniform set if possible.
This makes stacking and storing incredibly efficient.
Neatly stack your chosen containers and arrange their lids vertically in a separate section. This organized approach brings harmony to your pantry or cabinet, making meal prep much smoother.
18. Display Only Functional Decor
In a minimalist kitchen, every item on display should either serve a practical purpose or bring genuine daily delight. Assess your countertops and open shelves with this principle in mind.
Remove purely decorative items that do not fit this criterion.
Perhaps you have a collection of trinkets or dusty artificial plants. Relocate these items to another area of your home, or consider letting them go if they no longer resonate with you.
Clutter on surfaces creates visual noise.
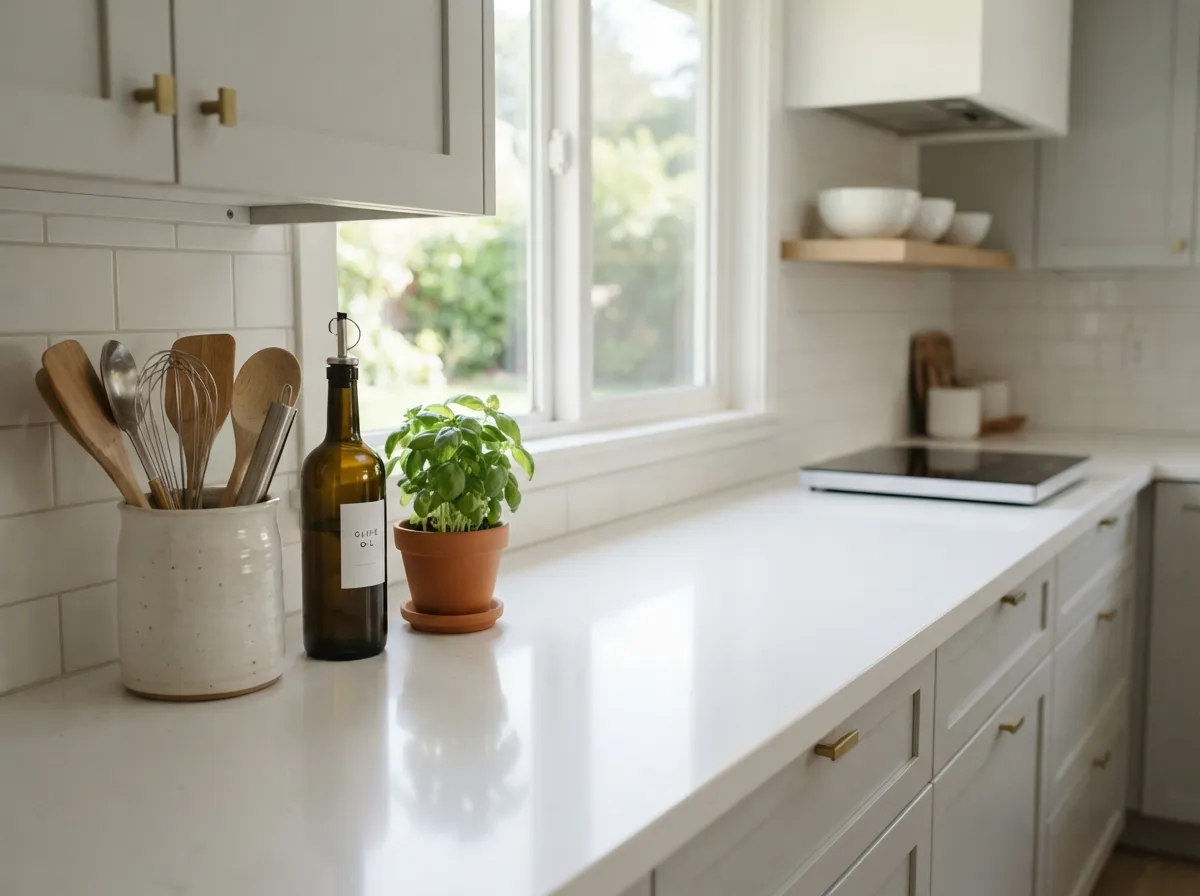
Instead, let your functional items become the decor. A beautiful ceramic utensil holder with your most-used tools, a stylish olive oil dispenser, or a small, vibrant herb plant can add warmth and personality.
These items are both useful and pleasing to the eye.
By focusing on functional beauty, you create a kitchen that is inviting and efficient. Each item earns its place, contributing to a calm and focused environment.
19. Establish a ‘One In, One Out’ Rule
To maintain your newly decluttered kitchen, adopt the ‘one in, one out’ rule. This simple principle is powerful in preventing future accumulation.
When you bring a new item into your kitchen, an existing, similar item must leave.
For example, if you buy a new set of mixing bowls, donate or discard an older set you no longer use as frequently. This applies to everything from small appliances to new mugs.
It ensures your kitchen remains at its optimal level of functionality and organization.
This rule encourages conscious consumption and prevents clutter from creeping back. It forces you to evaluate each purchase and consider its true necessity and value in your home.
This practice fosters a sustained minimalist mindset.
Making this a habit ensures your kitchen stays streamlined and efficient over time. It is a proactive step that supports long-term decluttering success.
20. Plan a Simple Maintenance Routine
A minimalist kitchen thrives on consistent, simple maintenance. Once your weekend declutter is complete, establish a brief daily or weekly routine to keep things tidy.
This prevents the need for another major overhaul.
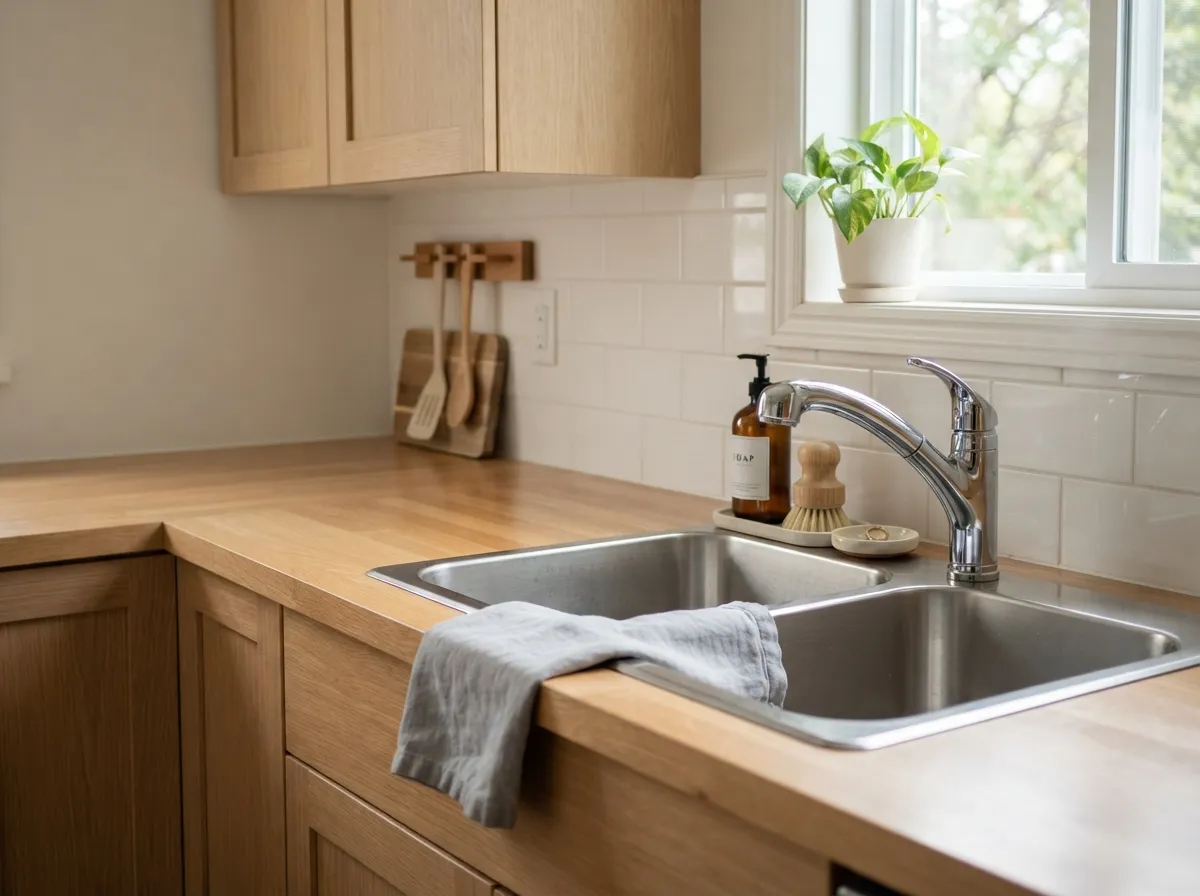
This routine doesn’t need to be extensive. It could involve wiping down countertops after cooking, loading the dishwasher immediately, or quickly putting away items as you use them.
Small, consistent efforts yield significant results.
Consider a quick five to ten-minute tidy-up at the end of each day. This ensures that you wake up to a clean and inviting kitchen every morning.
It reduces stress and makes your cooking experience more enjoyable.
By integrating these small habits into your daily life, you safeguard your minimalist kitchen. This simple maintenance routine is the key to enjoying a perpetually organized and peaceful space.
Achieving a minimalist kitchen is a journey, not a destination. By following these steps, you’ve laid a strong foundation for a more functional and peaceful space. Enjoy the lasting calm and efficiency that comes with a thoughtfully decluttered kitchen, making everyday tasks a joy.